Stuck with a dead part on a board you want to save? Here is how to desolder components without lifting pads: melt every joint fully, clear the solder with wick or a pump, and only then pull.
If you are fixing a whole board rather than a single part, the wider electronics repair hub shows where this job fits.
| Item | Value |
|---|---|
| Leaded solder melting point | About 183°C |
| Lead-free (SAC305) melting point | About 221°C |
| Iron setting for leaded solder | 280-320°C |
| Iron setting for lead-free solder | 300-350°C |
| Hot air nozzle temperature, surface-mount parts | About 250-350°C |
| Common desoldering wick widths | 1.5mm-3.5mm |
These figures come from LCSC’s guide to PCB desoldering tools and techniques. Figures can change and depend on your solder and board, so check the source before you rely on them.
Why every joint must be molten before you pull
Desoldering looks like heat, suck and pull, but each step affects the board. According to LCSC, the most common mistake is pulling a component before the solder is fully molten, which can lift pads or pull out internal-layer vias on multilayer boards.
Parts with many pins make this harder. Joints you melted first set again while you work on the next, so the solder has to be cleared from all of them together, as LCSC explains for DIP chips.
The same rule applies to surface-mount parts. JLCPCB’s SMD guide says every required joint must be fully liquid before the part is lifted, because even one solid joint is the fastest way to rip a copper pad off the board.
A trick for two-lead parts
Parts with only two leads, such as diodes and resistors, can be walked out of the board. The splitkb documentation describes this wiggle technique:
- Heat one lead and bend the part so that lead lifts away from the board a little.
- Hold the part until the solder has set again.
- Heat the other lead and lift it slightly in the same way.
- Repeat the cycle until the part comes free.
What to have on the bench
A temperature-controlled iron is the base of the kit, and the rest depends on the part you are removing. Based on the tools listed by LCSC and Zbotic, a basic setup looks like this:
- An iron with a chisel, knife or bevel tip, because conical tips give too little contact area.
- Desoldering wick (braid) for pads, fine-pitch work and cleanup.
- A spring-loaded solder sucker, ideally with a silicone nozzle rather than plastic.
- Liquid or gel flux.
- Bent-tip ESD-safe tweezers for gripping surface-mount parts.
- A hot air station for multi-lead surface-mount packages.
Set the iron to suit the alloy. LCSC gives 280-320°C for leaded solder and 300-350°C for lead-free, and warns that the wrong temperature leaves solder unmelted or scorches pads. The guide to soldering iron temperature settings goes deeper on dialling your iron in.
Look after your lungs and fingers too. Zbotic advises working in a well-ventilated area with a fume extractor pointing at the work, washing your hands after every session because lead-based solder produces toxic fumes, and keeping the iron in its stand when you are not using it.
Clearing solder with wick or a pump
Whichever tool you pick, add fresh flux first. Zbotic’s advice is blunt: never desolder without adding fresh flux, since old oxidised joints wick poorly without it.
A joint that refuses to melt can also be helped with more solder. Wevolver recommends adding fresh solder, especially leaded, even to a lead-free joint, and splitkb notes the extra mass also gives you more working time.
Solder wick
Wick pulls molten solder into copper braid by capillary action. LCSC lists widths from 0.8mm to 5mm, with 1.5mm to 3.5mm the common sizes, so match the braid to the pad. Then follow these steps from Zbotic:
- Apply flux to the joint and the braid.
- Lay the braid flat on the joint and press the iron on top of it with a light touch.
- Wait for the solder to melt and wick up, which takes about 2-4 seconds.
- Lift the braid and the iron together, so the braid does not cool and stick to the pad.
- Snip off the used section and repeat with fresh braid if solder remains.
Used braid is not reusable, and splitkb warns against yanking stuck braid, since you are sure to lift a pad. Raise the iron temperature, or feed a little extra solder near the stuck spot instead.
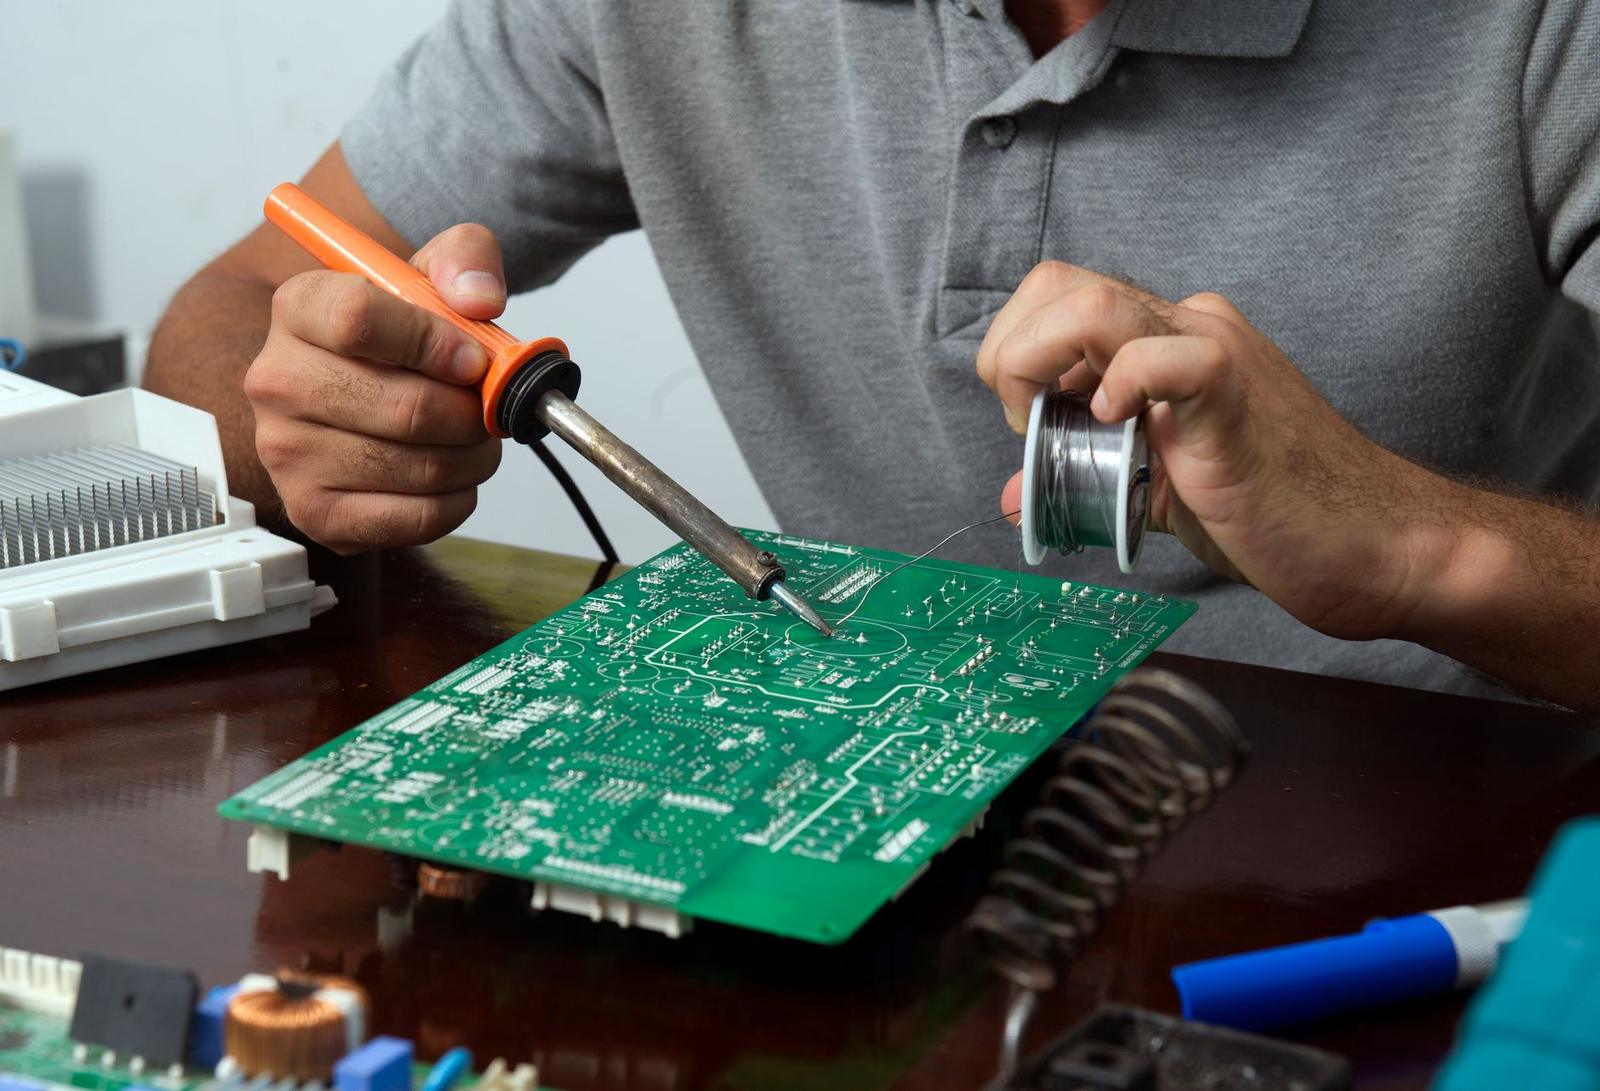
Desoldering pump
A pump is the quick choice for through-hole joints. LCSC says suckers excel at clearing through-hole pads fast, while wick is better for surface-mount pads and fine-pitch cleanup.
Press the plunger down until it locks, then heat the joint until the solder is molten. Keep the iron on the joint, put the nozzle on the molten solder beside the iron tip, and press the release button, as Zbotic describes. Mind that the sudden suction may also pull in nearby loose SMD parts, according to splitkb.
How do you remove surface-mount parts?
Choose the method by package, not by habit. JLCPCB sums it up as follows:
- Twin-iron or wide-tip heating for small chip parts.
- Solder wick for flat pads and footprint cleanup.
- Hot air for SOIC, QFP and QFN multi-lead parts.
- Low-temperature removal alloy when you need extra working time or have no hot air.
For hot air, LCSC gives a nozzle temperature of about 250-350°C, held 2-4cm from the component, in heating cycles of 10-20 seconds. Treat these as a starting range rather than a rule.
Heat is the risk here. Wevolver warns that excess heat or prolonged exposure can char the PCB, melt vias or lift pads, so preheat gently and watch the airflow temperature.
Cleaning up and avoiding common mistakes
Once the part is out, tidy the pads before anything goes back. JLCPCB’s advice is to apply flux before heating, shield nearby heat-sensitive parts, keep heat exposure brief, then clean and inspect the footprint before a replacement is installed.
Wipe off flux residue with isopropyl alcohol on a cotton swab, because Zbotic notes that leftover residue can cause corrosion and tracking issues over time. When the pads are clean, fit the new part using the steps in how to solder.
Most failures trace back to the same few slips:
- Pulling the part before every joint is molten.
- Skipping flux on old, oxidised joints.
- Lifting the iron before the wick, or tugging on stuck braid.
- Using an iron temperature that does not suit the solder alloy.
- Overheating the board with hot air.
Frequently asked questions
Do I need both a pump and wick?
Show answer
Not at first. A pump clears through-hole joints quickly, and wick handles pad cleanup and fine-pitch surface-mount work, so many people end up wanting both.
Can I desolder a chip one pin at a time?
Show answer
No. LCSC says multi-pin parts such as DIP chips cannot be removed pin by pin, because earlier joints set again while you work on the next one. Clear them all together with a pump or wick.
What if the solder will not melt?
Show answer
Check that the iron suits the alloy, then try adding a little fresh solder to the joint. The extra solder is easier to melt and adds mass, which gives you more time.
What should I do if the wick sticks to the board?
Show answer
Do not pull on it. Raise the iron temperature, and if it still holds, feed some extra solder near the stuck spot, as splitkb suggests.