Worried you’ll burn a board or make a messy blob? Here’s how to solder a basic through-hole joint: heat the pad and lead together, feed solder into the joint, then remove solder and iron. Practice on a spare board first.
This walkthrough sits within the wider topic of electronics repair, where soldering is one of the core hands-on skills.
| Item | Value |
|---|---|
| Sn63Pb37 (leaded) solder phase change | 183°C |
| SAC305 (lead-free) melting range | Approximately 217-221°C |
| Basic workable iron price | Under $10 (US) |
| Hobby-grade soldering station price | Begins around $20 (US) |
| Entry-level commercial-grade station price | Minimum of $100 (US) |
The price figures come from ApogeeKits’ free guide and the alloy figures from ProTechTrader’s beginner guide. Figures can change, so check the source and your own solder’s documentation before you rely on them.
Set up a safe bench first
Hot metal looks identical to cold metal, and solder melts at nearly twice the temperature of boiling water, as Docsie’s tutorial points out. A few habits make the job much safer before you ever switch the iron on.
- Wear safety glasses. Flux in the solder core can boil and throw small droplets of flux or molten solder toward your eyes, according to ApogeeKits’ free guide.
- Rest the iron in a stable, heat-resistant stand whenever it is not touching the work.
- Use local fume extraction or good ventilation so flux smoke moves away from your breathing zone.
- Disconnect batteries, bench supplies and USB power before you solder.
- Wash your hands with soap and water after handling solder, especially lead-bearing solder.
These points are drawn from ProTechTrader’s safety checklist. Treat the bench setup as part of the build, not an afterthought.
Gather the tools and know what they cost
You do not need a crowded bench. A short list covers a first practice joint.
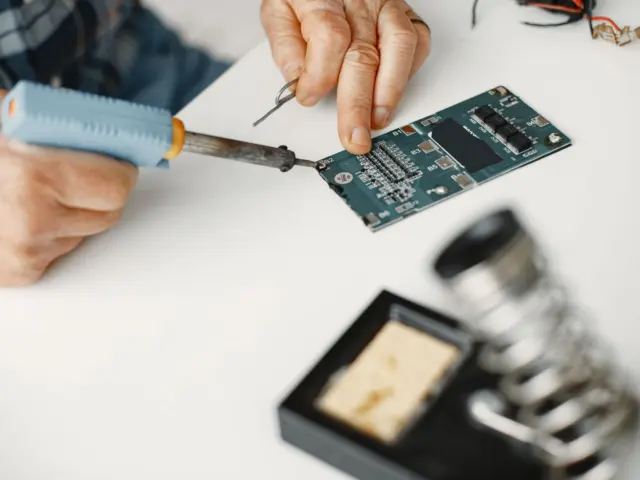
- A soldering iron with a clean, appropriately sized tip.
- A stand, plus brass wool or a damp sponge to clean the tip.
- Electronics solder suited to your project.
- Safety glasses and a spare practice board with a through-hole part.
- Flush or side cutters for trimming leads.
Price matters less than you might think. ApogeeKits says a workable iron can be found for under $10 (US), but many of those cheap pencil irons have no replacement tips and are poorly temperature regulated.
The same guide puts hobby-grade stations at around $20 (US) to start and about $40 (US) on average. It adds that you should expect to pay a minimum of $100 (US) for an entry-level commercial-grade station.
A big soldering gun is the wrong choice for circuit boards. Its heat is hard to keep focused on a small area and can damage the board’s printed wiring.
Which solder should you choose?
Solder is the alloy that forms the joint. Traditional leaded solder was mostly lead and tin, and SparkFun’s tutorial notes that lead is harmful and can cause lead poisoning when exposure is large.
In 2006 the European Union adopted the RoHS directive, which restricts leaded solder in electronics and electrical equipment, per the same SparkFun page. Lead-free solder then became the norm in manufacturing. For your own projects, SparkFun says the choice is yours.
The trade-off is heat. Tin has a higher melting point than lead, so lead-free solder needs more heat to flow. ProTechTrader gives Sn63Pb37 at 183°C and common SAC305 at roughly 217-221°C, and adds that tip size, joint mass and flux also affect the right iron setting.
Whichever you pick, look for rosin-core wire. Docsie’s guide lists 60/40 rosin core as an example and explains that rosin acts as a flux, removing oxide layers so the solder can adhere.
How to solder a through-hole joint, step by step
Practice on a spare board before you touch a valuable kit, and keep the circuit unpowered throughout. Set a through-hole iron between 315-370 °C (600-700 °F), the range Docsie recommends, and go a little higher for large joints with lots of copper.
- Secure the part. Slightly bend the leads into a V-shape so the component stays flush against the board, or hold it with helping hands or tape.
- Clean and tin the tip. A dirty tip is covered in metal oxides that inhibit heat transfer. Wipe it, then add a small amount of fresh solder.
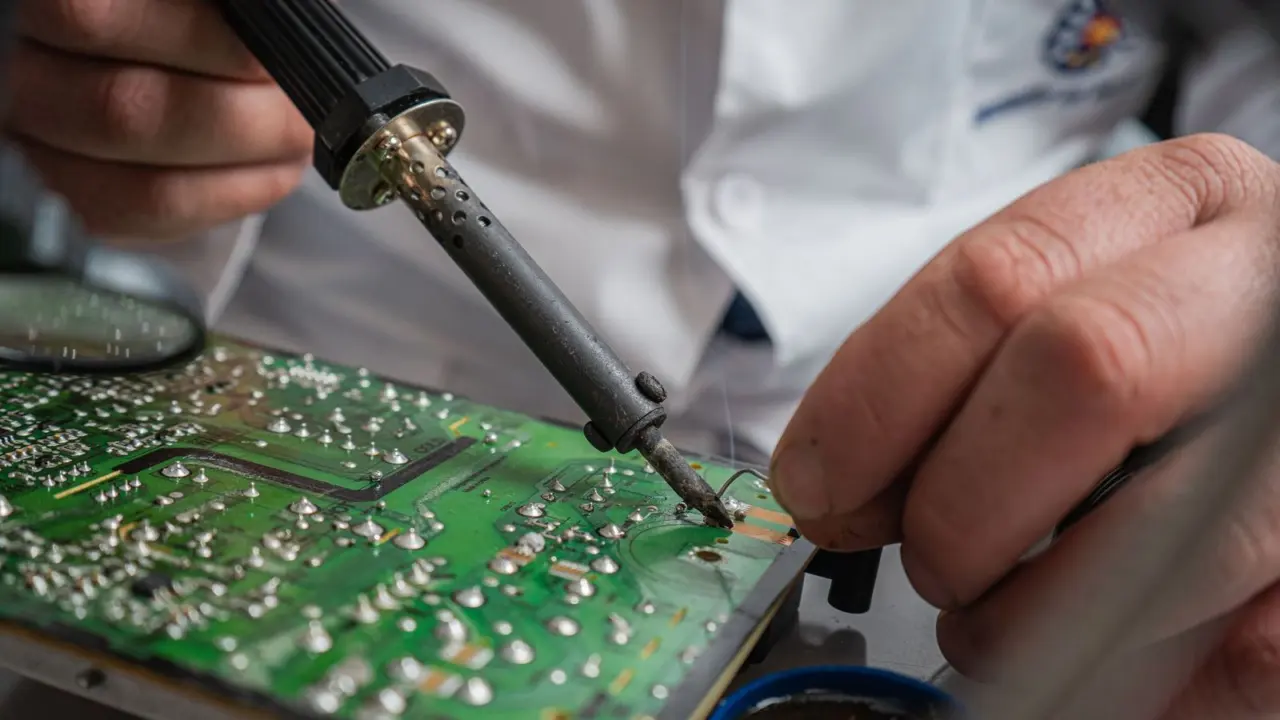
- Heat the pad and lead together. Make good contact with both, using the flat edge of the tip rather than just the point.
- Feed the solder. Touch the solder to the opposite side of the joint, not directly onto the iron tip.
- Remove the solder first, then the iron. Let the joint cool for a few seconds without moving it.
- Trim the lead. Do this once the joint has cooled.
Timing is the part beginners get wrong. As a rule of thumb, ApogeeKits says a joint should usually be made within 2 to 3 seconds of applying heat, with exceptions for large, heavy parts.
The idea behind the order is simple: the connection melts the solder, not the iron. Touching solder only to the iron can make a blob without sending enough heat into the pad.
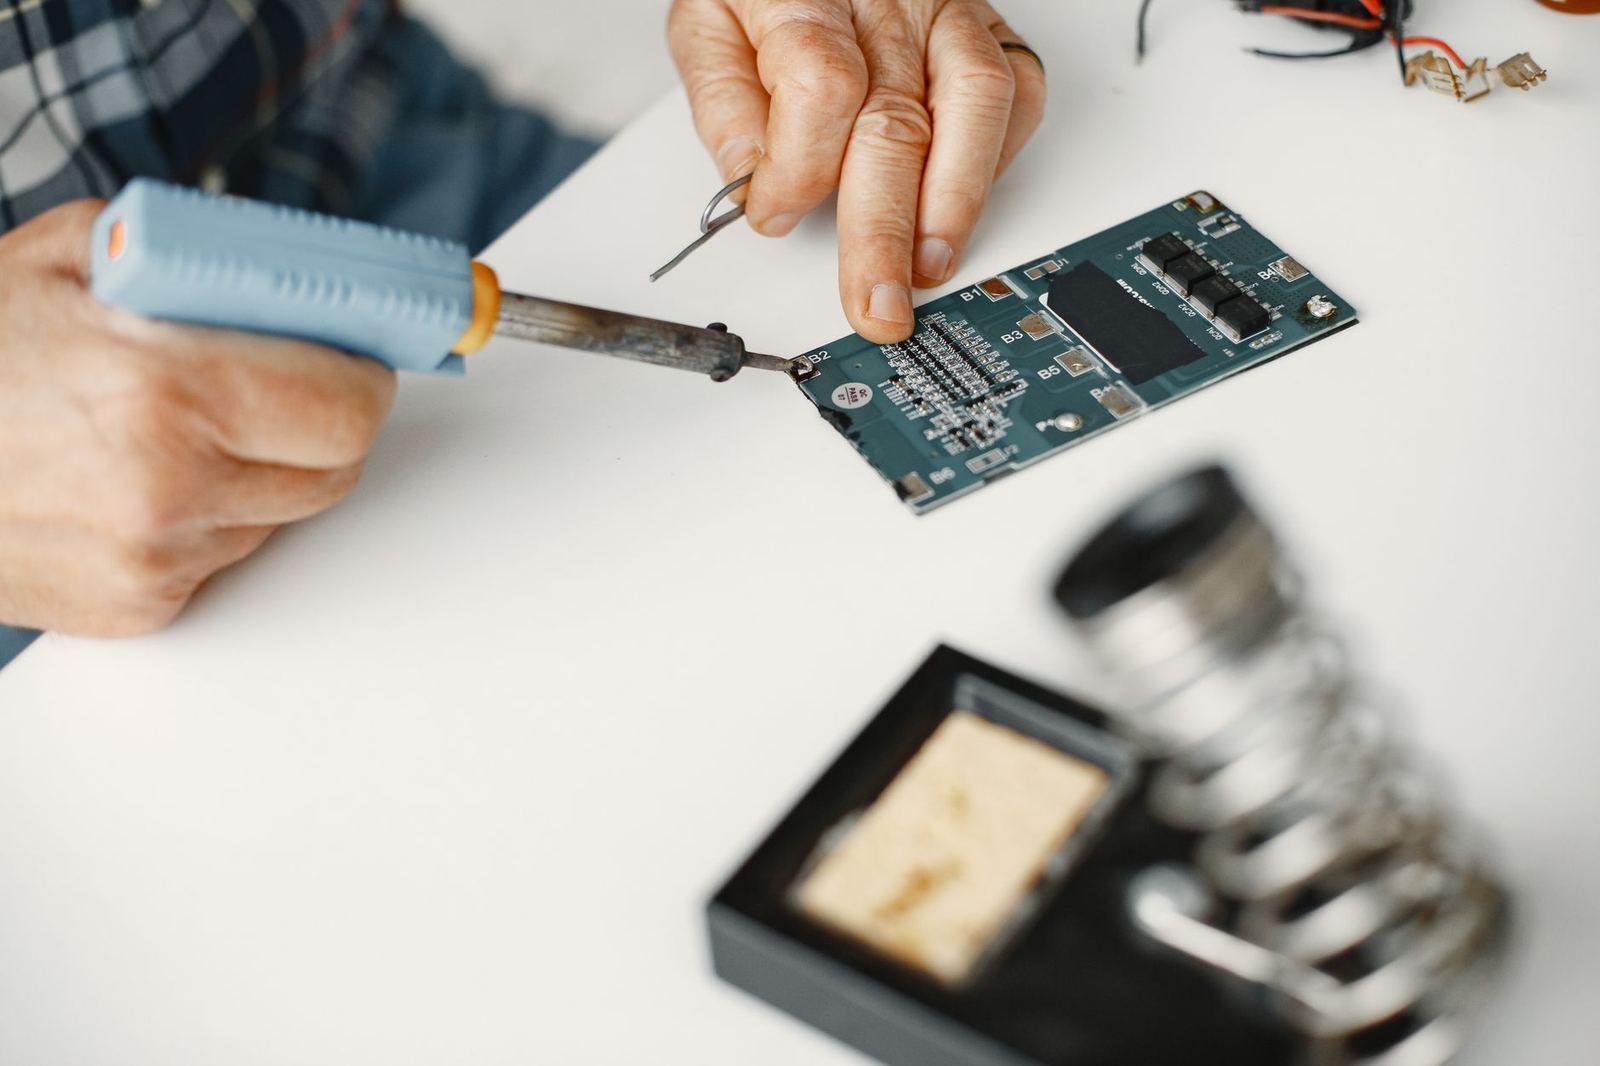
How do you tell a good joint from a bad one?
Inspect every joint once it has cooled. Docsie’s checklist says to confirm that the solder has wetted both surfaces, that the joint is smooth and shiny, and that there is neither too much nor too little solder.
A dull, frosty look is a warning sign. According to ApogeeKits, heating for more than a few seconds can crystallize the solder into a dull “cold” joint that might fail sooner rather than later.
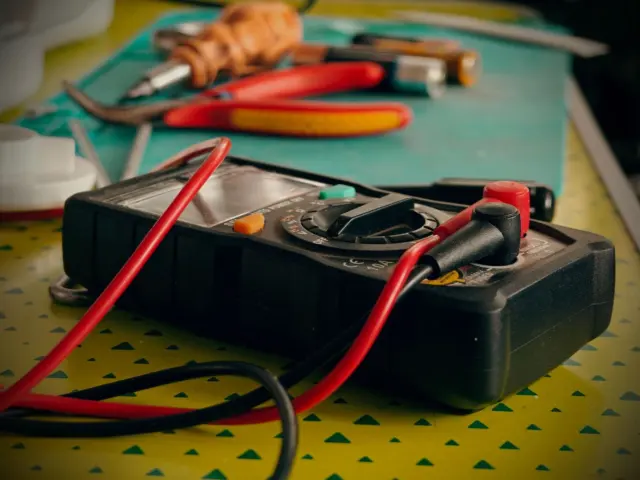
Once the board is built, a continuity test confirms what your eyes suggest. Learning how to use a multimeter helps here, and remember to disconnect all power before continuity tests.
Fix the most common beginner problems
- Solder balls up and will not flow: the pad and lead probably are not hot enough. Heat both together and feed the solder to the joint rather than the tip.
- Dull, grainy joint: too much heat or time, or the joint moved while it solidified. Movement can create a weak or irregular connection.
- Solder will not melt on a big joint: the iron’s wattage may be too low, or the joint may simply need a little more time.
- Poor heat transfer: clean the tip, then tin it with a little solder to bridge the air gap between iron and parts.
If a joint is beyond saving, read about how to desolder components before you pull anything off the board. ProTechTrader lists desoldering braid or a solder sucker as helpful extras for a practice bench.
Frequently asked questions
What temperature should I set my soldering iron to?
Show answer
For through-hole parts on a circuit board, Docsie’s tutorial suggests 315-370 °C (600-700 °F). Larger connections that dissipate more heat may need a slightly higher setting.
How long should I hold the iron on a joint?
Show answer
As a rule of thumb, ApogeeKits says a joint should usually form within 2 to 3 seconds after heat is applied. Large, heavy parts can take longer.
Do I need an expensive soldering iron?
Show answer
Not to begin with. ApogeeKits says a workable iron can cost under $10 (US), though hobby-grade stations that start around $20 (US) are easier to use and offer better temperature control.
Is leaded solder safe to use?
Show answer
SparkFun states that lead is harmful and can lead to lead poisoning with large exposure. If you use lead-bearing solder, ProTechTrader advises washing your hands with soap and water afterwards and not eating, drinking or touching your face at the bench.