Starting electronics repair can feel risky when you can’t see the dangers. The safe answer is simple: unplug the device, control static, treat every capacitor as charged, and learn soldering and testing step by step.
| Item | Value |
|---|---|
| Static discharge you can usually feel, on average | More than 2,000 volts |
| Resistor normally built into an anti-static wrist strap | 1 MΩ |
| Capacitor rating generally considered fairly safe | Up to around 50V |
| Low-voltage capacitor size that still needs care | 1 mF / 1000 uF and above |
These values come from the iFixit electrostatic discharge guide and the Clever Creations capacitor guide. Figures can change, so check the source before you rely on them.
What electronics repair actually involves
Repair is less a single talent than a handful of repeatable techniques. The iFixit repair techniques wiki lists five core jobs, and each one is summarised below.
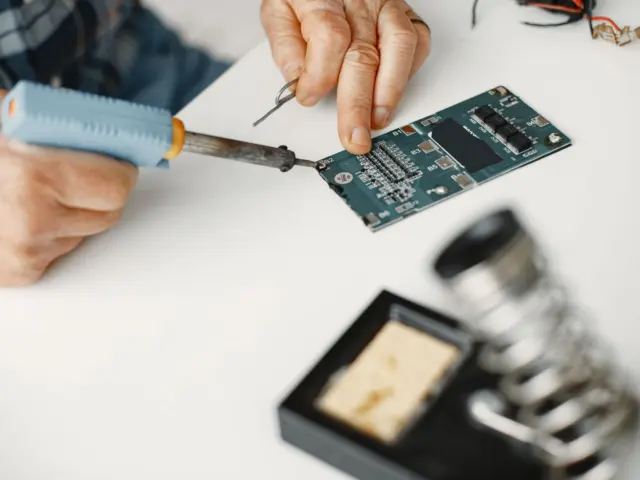
- Soldering: attaching, replacing or removing components on a board.
- Extracting a stripped screw: try different sized and shaped screwdrivers, or a pair of pliers, before anything more drastic.
- Cleaning liquid damage: turn the device off first, then clean out the liquid.
- Discharging a capacitor: make sure stored charge is gone before your hands go near the board.
- Applying thermal paste: renew it whenever a heat sink comes off a processor.
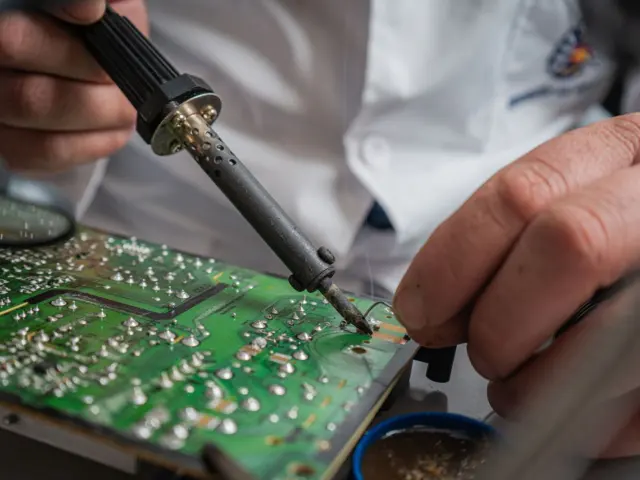
Soldering is the skill you will use most, because iFixit notes that it is used in almost all electronic devices to attach components to boards. If you have never held an iron, read how to solder before you pick up a board you care about. The wiki adds that a few different techniques exist for repairing, replacing or removing soldered connections, depending on whether the part is large thru-hole, small thru-hole or small surface-mount.
A stripped screw has an escape route. If different screwdrivers and pliers do not work, iFixit’s guide describes cutting a small notch in the screw head so a flathead screwdriver can turn it. It is a small trick, but it saves many a beginner from giving up on a repair at the first fastener.
Liquid is a different kind of problem. iFixit calls liquid damage one of the most common causes of device malfunction, and says it can damage a device only if it causes a short-circuit or corrodes the internals. That is why the first step is always to turn the device off, and why a short-circuit search is a useful skill later on.
Thermal paste is the least glamorous job on the list. Any time you remove a heat sink from a processor, iFixit says you need to clean off the old paste and apply a new layer, to ensure the best conductivity and cooling.
When a part name in a repair guide is unfamiliar, the overview of electronic components is a good place to look it up.
The sections below follow the order a careful beginner would work in: the workspace, static, stored charge, the soldering iron and finally testing. Skipping ahead to the fun part is tempting, but the safety steps are what keep a cheap mistake from becoming an expensive or painful one.
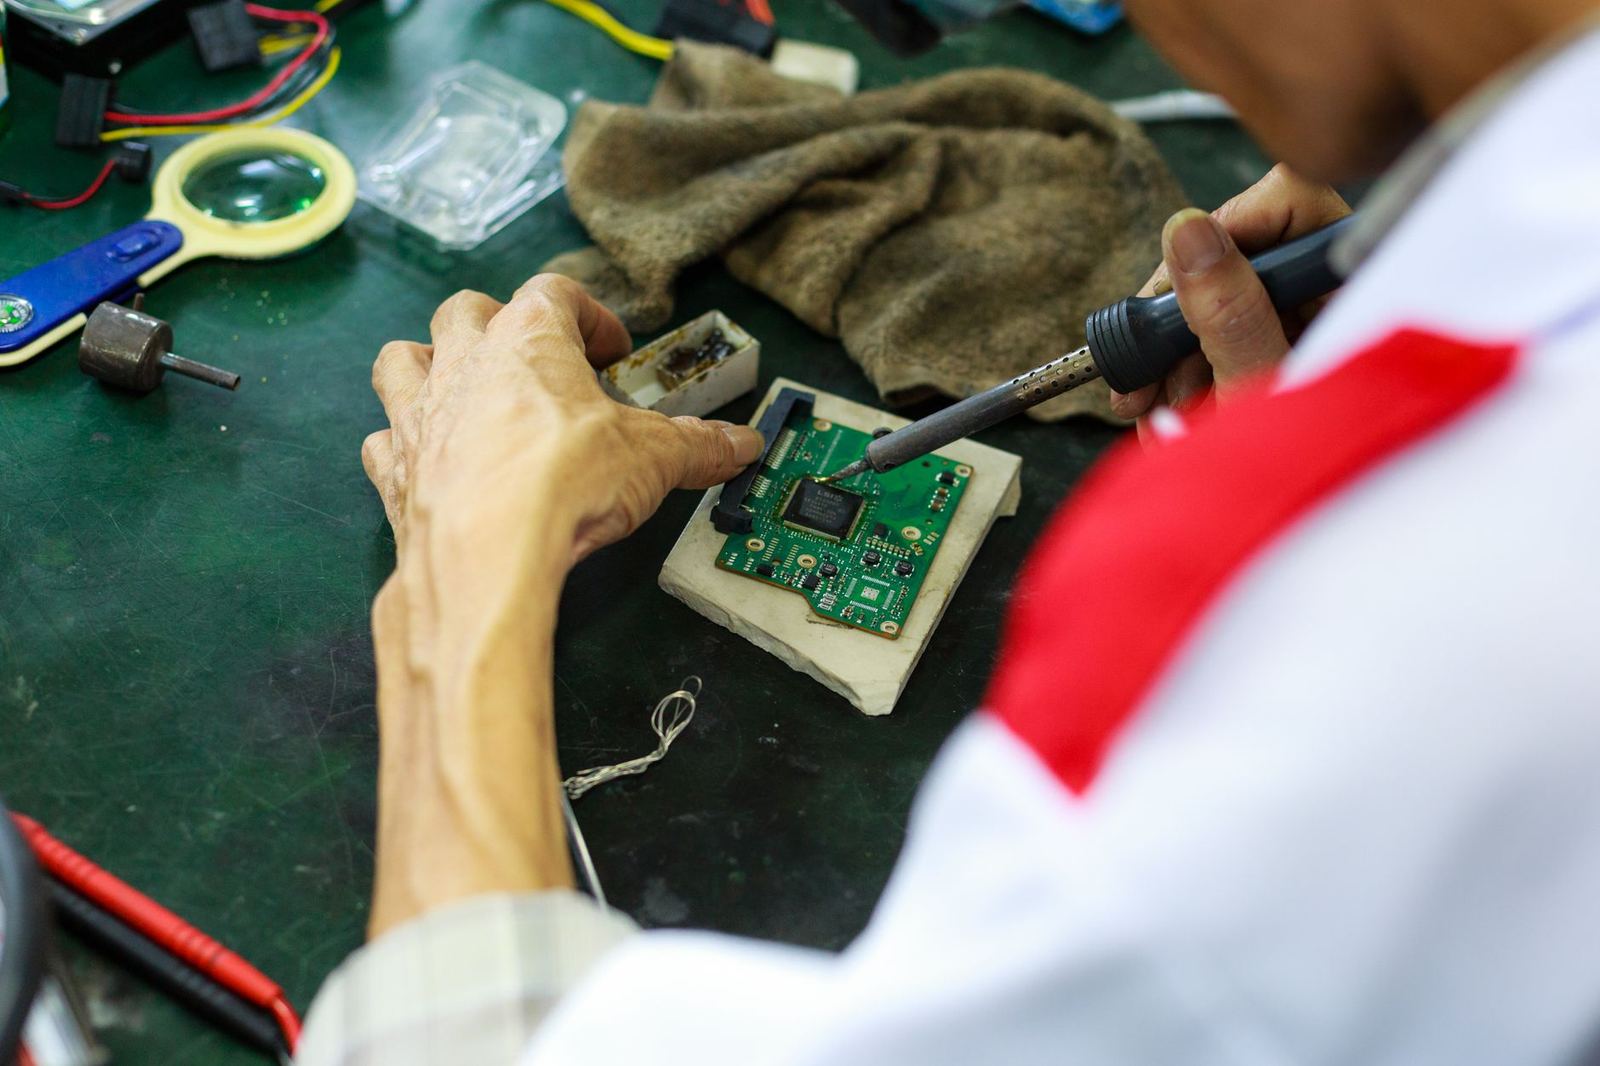
Set up a safe workspace before you open anything
iFixit’s device safety page begins with a mindset rather than a tool. It tells you to plan your repair carefully, anticipate hazards and take steps to avoid them. It also reminds you that every device is different, so treat any instructions as a starting point.
If you feel unsafe performing any part of a repair, stop working and ask for help. The same page advises against performing potentially hazardous repairs alone, so someone can help or call 911 (or 112 in the EU, or equivalent) in an emergency. Read the details on the iFixit device safety page.
Cut the power first
The rule is blunt: never work on anything that is plugged in to a power outlet. The device should be physically unplugged, not just switched off. Whenever possible, remove the battery or batteries before you begin disassembly, as iFixit’s device safety page advises.
Protect yourself
Before any repair, the iFixit device safety page lists sensible personal precautions. Most of them cost nothing:
- Wear gloves, because sharp edges can cut your hands.
- Wear safety glasses to protect your eyes from flying debris.
- Avoid loose clothing that could get caught in a device.
- Remove jewellery such as watches and rings, and tie long hair back.
- Use tools that are clean and in good working condition.
- Have ample light, and keep the work area clean and dry from water and oils.
Tools deserve respect too. iFixit’s education page points out that tweezers and metal spudgers have sharp tips that can break the skin or puncture batteries, which could potentially start a fire. It also notes that metal spudgers are not ESD-safe, which matters in the next section. Details are on the iFixit project safety page.
Know what to leave alone
Some devices are not beginner projects. iFixit’s device safety page says not to attempt to disassemble or repair older CRT televisions or computer monitors, because CRT displays contain potentially lethal high-voltage capacitors, glass-walled vacuum tubes that can implode violently if mishandled, and large quantities of lead. Leave those repairs to an experienced technician. The guidance is on the iFixit device safety page.
Modern flat screens are safer, but not risk-free. The iFixit project safety page warns that flat-screen displays contain power supply boards with large capacitors that can be particularly dangerous when charged.
Mind the metals
Printed circuit boards in older electronics may contain toxic heavy metals such as lead and mercury, according to iFixit’s device safety page. Wash your hands thoroughly after you finish working and before you eat. Do not eat or drink while handling electronic components.
Control static electricity (ESD)
Static is the hazard you cannot see. According to the iFixit electrostatic discharge guide, electrostatic discharge (ESD) is the sudden flow of electricity between two unevenly-charged objects. It is usually harmless and modern electronics are fairly hardened against it, but it can still damage sensitive components and lead to device instability or failure.
The trap is that you often feel nothing. On average you can feel a discharge only if it exceeds 2,000 volts (iFixit ESD guide). Some electronic components are sensitive to static discharge of less than one hundred volts, so a damaging zap can pass completely unnoticed (iFixit’s ESD article).
That makes damage hard to pin down. iFixit says ESD damage is difficult to trace and diagnose, so prevention beats troubleshooting. The same article states that, as a rule of thumb, the smaller the components inside your device get, the more sensitive they are. If you want to know why tiny parts are so fragile, start with semiconductor basics.
Where static comes from
In everyday life the source is the triboelectric effect. Walking across a floor or taking off a sweater builds charge on you. The charge drains away through the air, and the more humid it is, the faster it dissipates, so a dry day raises the risk.
Practical ways to reduce the risk
The iFixit ESD guide offers a short checklist for a safer bench:
- Remove rings, watches and bracelets.
- Before starting, discharge yourself by touching a metal fixture.
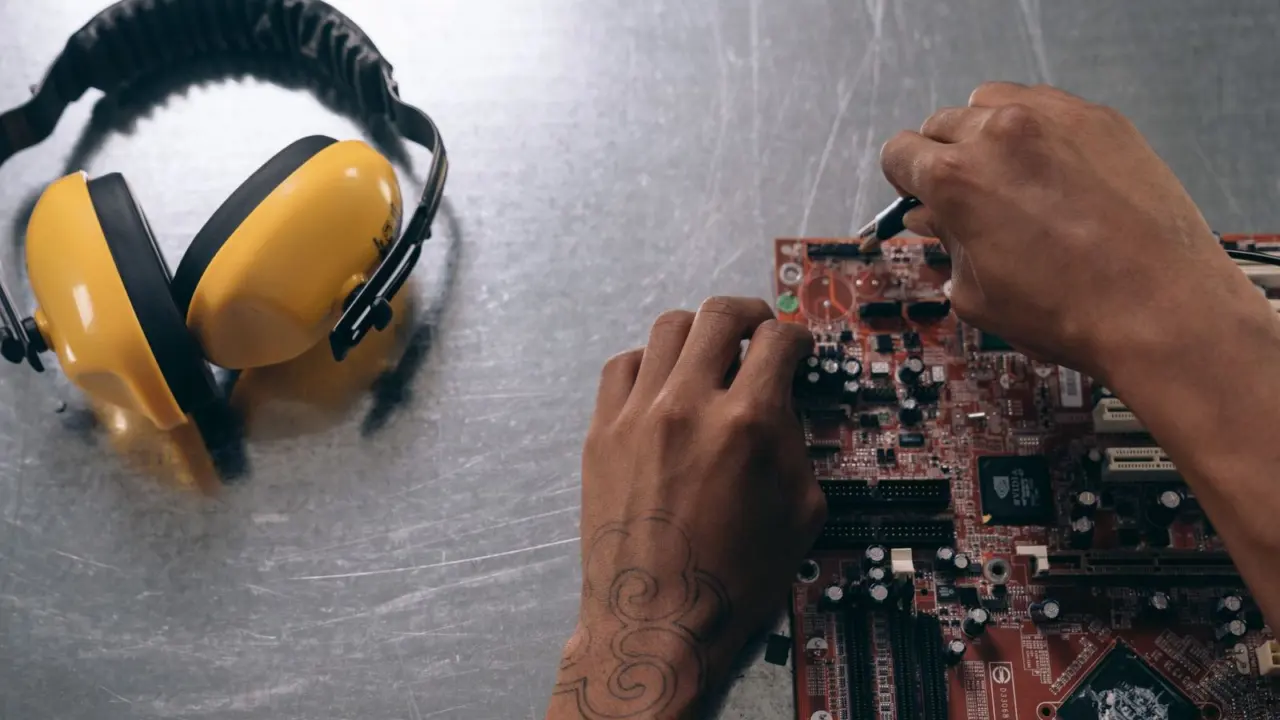
- Use an ESD-safe workspace with a grounded anti-static mat and an anti-static wrist strap.
- Avoid polyester clothing, such as a jogging suit, which iFixit calls a haven for static buildup.
- Keep vinyl, Styrofoam and plastic out of the workspace, except your ESD-safe tools.
- Keep new parts in their pink or silver bags until you are ready to install them.
Anti-static gloves are optional, but iFixit gives a second reason to wear them. Natural oils from your fingers can transfer to tiny IC components and conductive contacts, which can create extra resistance and potential short-circuits (iFixit ESD guide).
How the gear works
An anti-static mat is made of a material with high electrical resistance. Once the mat is connected to ground, it dissipates charge at a slow and controlled rate. A wrist strap creates a conductive, high-resistance path from your arm to ground, with a resistor that is normally 1 MΩ built into it.
A strap that is not connected to ground does nothing, as iFixit puts it: anti-static wrist straps have no benefit if they are not grounded. If you cannot reach a good ground, the older iFixit article suggests clipping the mat to something big and conductive, such as the steel legs of a workbench, which at least gives you a charge reservoir to equalise everything with.
The bags your parts arrive in are part of the system. Those pink or silver bags are designed to dissipate static charge slowly enough to prevent damage, so keep spare parts in them until the moment you need them (iFixit’s ESD article).
Working on the device
If the device has a metal case, sitting it on the mat should equalise its charge. If it has a plastic case, touch a metal internal component before you disconnect any internal parts. Then keep touching internal metal frame parts regularly as you work, particularly just before swapping sensitive components such as RAM sticks.
One caution matters a great deal. iFixit warns that ESD-safe procedures will not protect you from high voltage discharges from a CRT display or a power supply capacitor. Static control protects the parts, not you, which is why the next section is just as important.
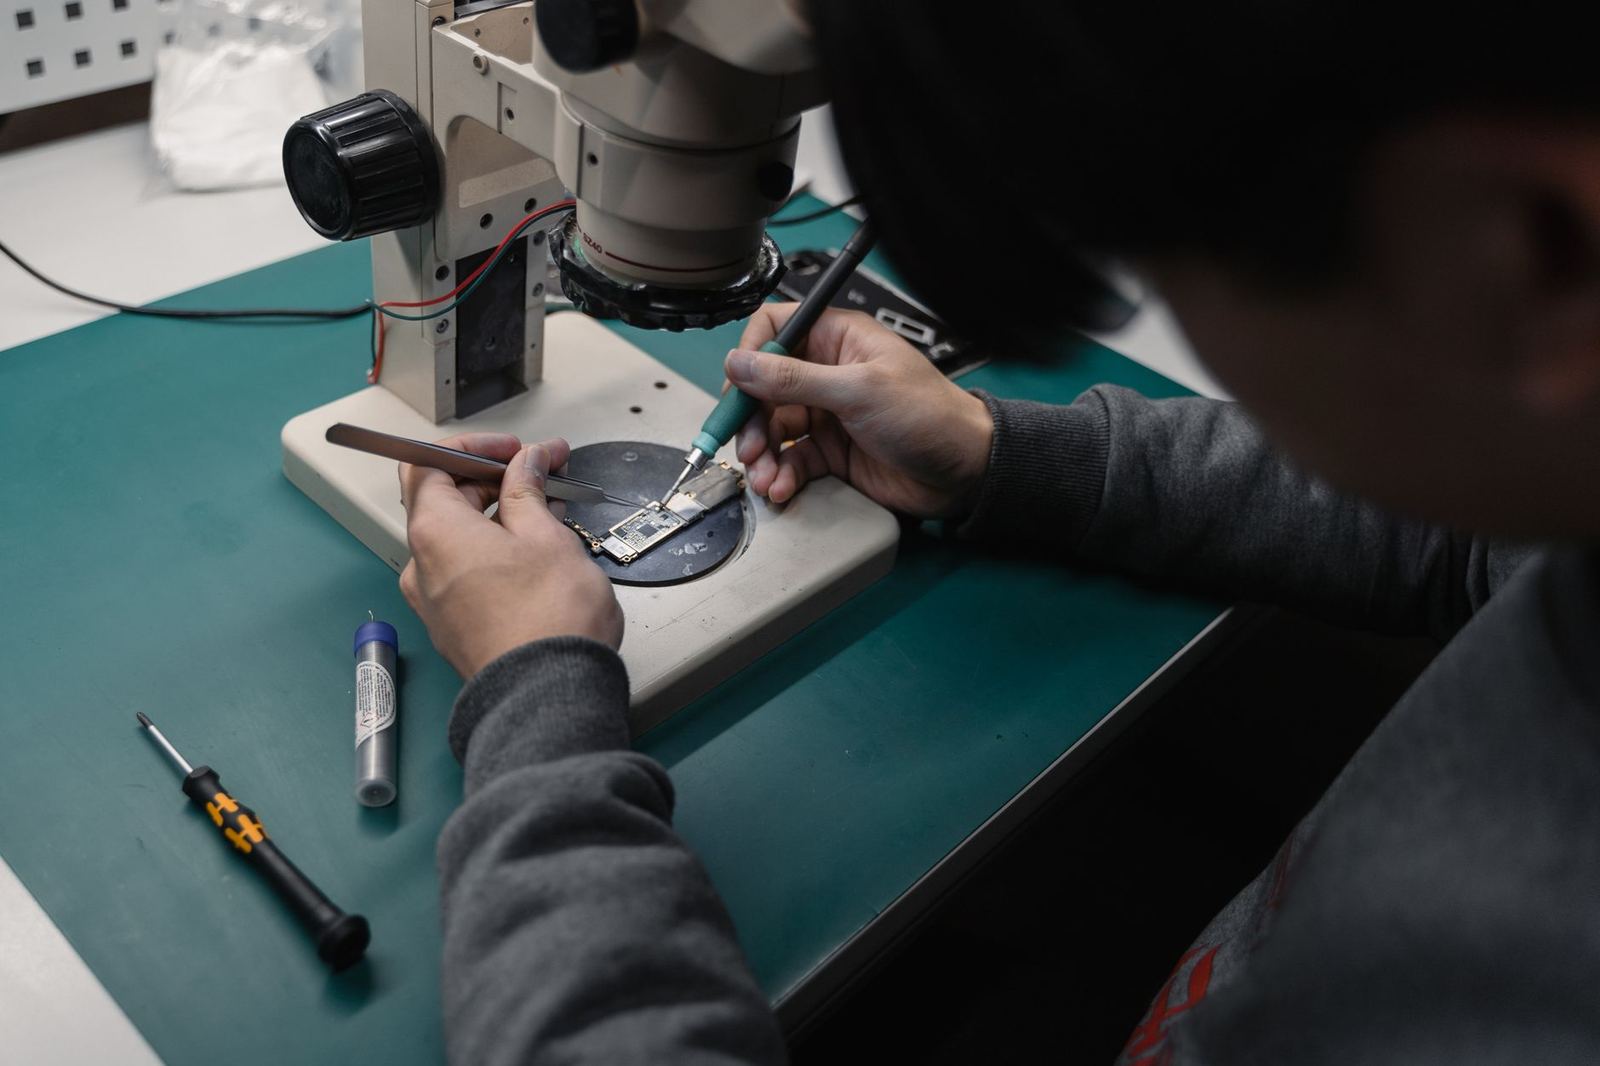
Handle capacitors with respect
iFixit’s repair techniques wiki says capacitors inside a device can store dangerous amounts of electricity. That is less of a concern with smaller electronics, but larger and older electronics often contain bigger capacitors that can be dangerous. The device safety page puts the working rule plainly: assume they are charged until you have confirmed they are discharged.
Big capacitors are usually cylindrical and look roughly like battery cells, per the same page. The Clever Creations guide says large ones, typically used in switched-mode power supplies, amplifiers, microwaves and HVAC equipment, can hold enough charge to injure or kill you even if the device has not been plugged in for a while.
Voltage rating is not the whole story
The Clever Creations guide says capacitors rated up to around 50V are generally considered fairly safe. It then adds two warnings: a capacitor with a low rating can still be used at higher voltages, and a low-voltage capacitor with a very large capacitance still packs a lot of energy. It flags capacitances of 1 mF / 1000 uF and above as the point to be careful about (Clever Creations).
The most dangerous parts in practice are high-voltage, high-capacity electrolytic capacitors on the primary (AC) side of power supplies. Modern devices often include bleeder resistors that help drain capacitors after unplugging, but the guide says older electronics built before the 1980s do not have them. Pay extra attention to anything old.
A cautious discharge routine
Discharging comes down to connecting a resistive load to the capacitor’s terminals, which lets the load turn the stored energy into heat. The steps below combine the Clever Creations walkthrough with iFixit’s safety advice:
- Disconnect every power source, unplug the cable from the wall and remove any batteries.
- Identify the capacitors on the board. The dangerous aluminium electrolytic types look like cylinders with a metal top.
- Keep yourself well insulated and at a safe distance, use only one hand, wear rubber-soled shoes and eye protection, and remove rings and bracelets.
- Connect a resistive load, such as a power resistor or a light bulb, across the capacitor’s terminals.
- Measure the voltage across the terminals to confirm the charge is really gone before you touch anything.
Why not just short the terminals with an insulated screwdriver? Clever Creations says that is a common method, but with high-voltage capacitors it creates an extremely low-resistance path and lets a high current flow. Releasing all the energy that quickly can be dangerous, with sparks, fire or explosions, so a proper resistive load is recommended instead.
The one-hand rule has a reason. iFixit explains that keeping your other hand behind your back or in your pocket stops you completing a circuit with your second hand and creating a path for current through your heart. The same page notes that a stray spark can cause severe eye damage.
If you do not own a discharge pen, iFixit’s repair techniques wiki links to a guide for building a capacitor discharge tool. Once a capacitor is safely drained and out of the circuit, you can learn how to test a capacitor.
Soldering safety and the skills to build next
Soldering can be both safe and fun, provided a few basic guidelines are followed, as iFixit’s device safety page puts it. Start with your lungs: solder fumes can be toxic, and at the very least they irritate the lungs and may aggravate conditions such as asthma. Work in a well-ventilated area and keep your head to the side of the work, not directly above it.
The rest of the guidance covers skin, eyes and fire:
- Use lead-free solder.
- Hold wires and solder with tweezers or wear protective gloves, not bare hands.
- Do not touch the tip of the iron: if it is hot enough to melt solder, it can burn you.
- Wear safety glasses, because solder can pop and spit unexpectedly.
- Solder only on heat-resistant surfaces, and clear flammable objects from the bench.
- Set the iron down only on its stand, and never leave a hot iron unattended.
- Keep a fire extinguisher nearby and know how to use it.
- Do not eat or drink while soldering, and wash your hands afterwards.
Clean-up counts as well. Do not throw lead solder, or sponges contaminated with it, into the trash. iFixit says to put them in a sealed container and take them to your local household hazardous waste disposal facility, and to recycle circuit boards that are beyond repair responsibly (iFixit device safety page).
Once your bench is safe, the next skills build on each other. Heat control is a craft of its own, so read up on soldering iron temperature settings before you experiment. Taking parts off a board uses the same iron, and how to desolder components is the natural follow-up. iFixit also publishes a guide that walks you through soldering and desoldering connections on large thru-hole, small thru-hole and small surface-mount parts (iFixit techniques wiki).
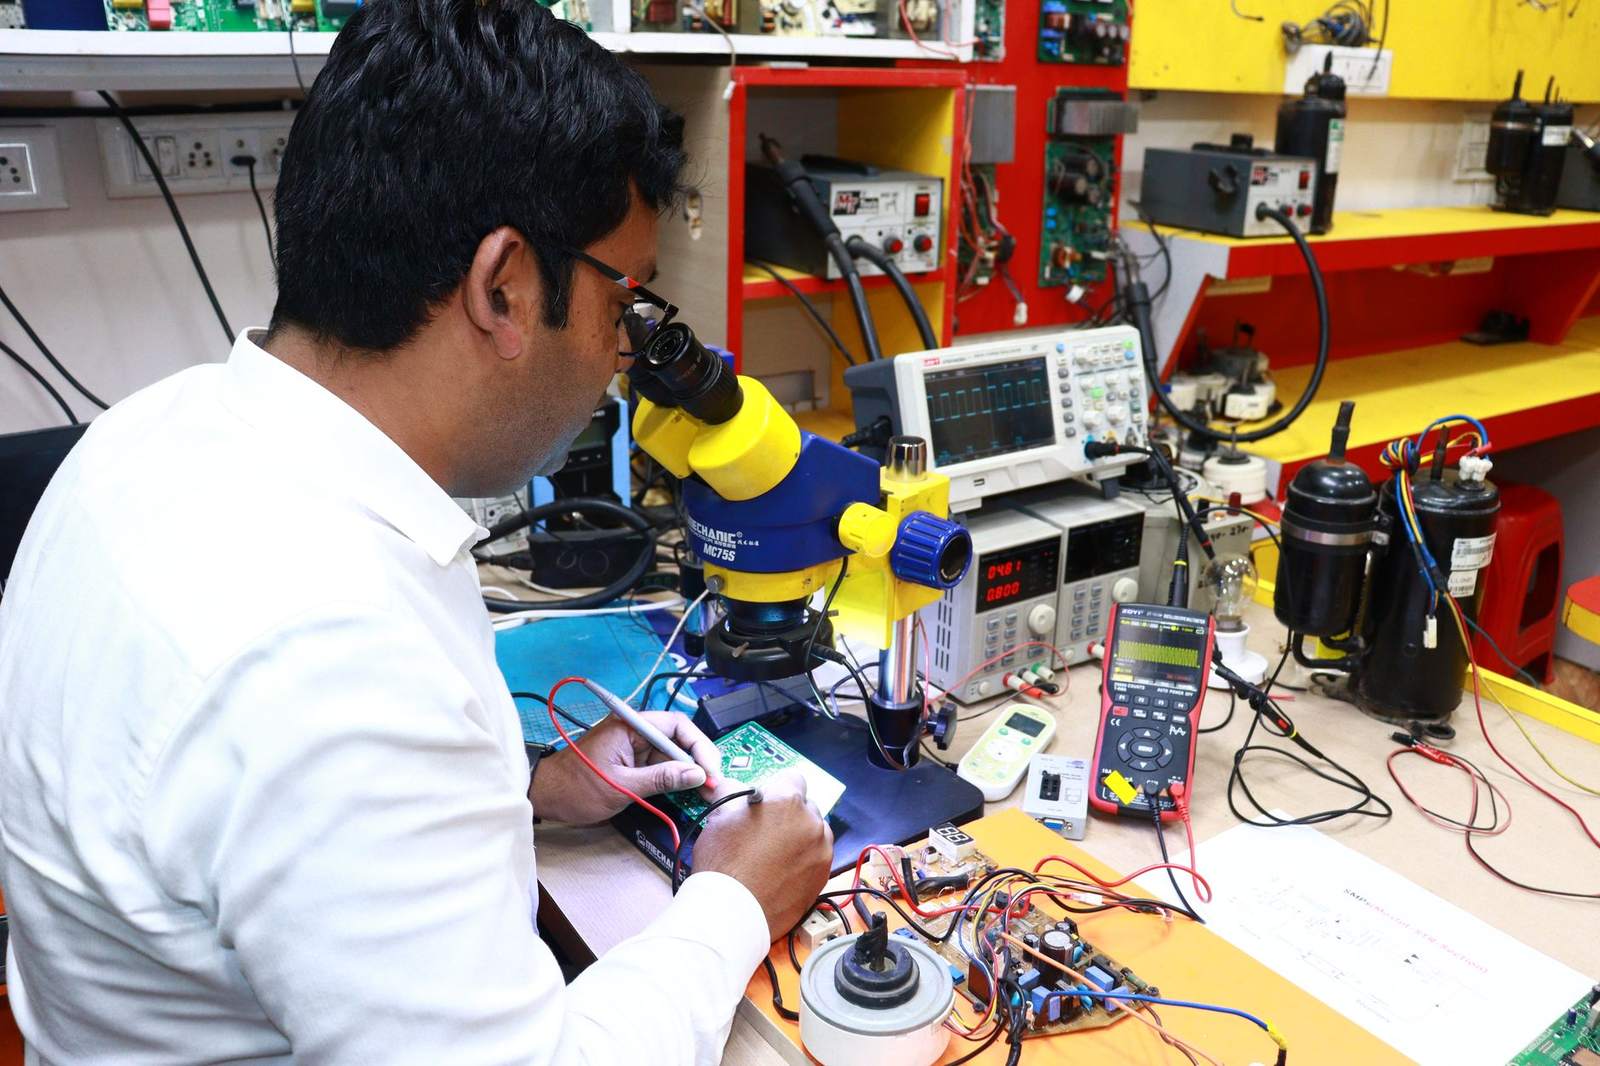
How do you diagnose a fault?
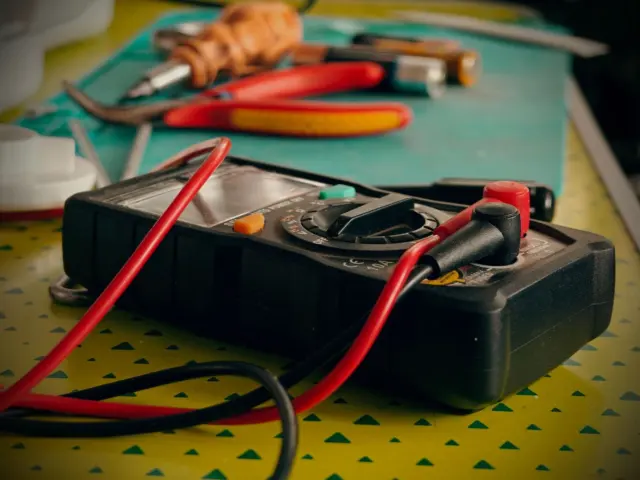
Diagnosis is a series of small tests, each ruling something out. Safe habits come first, and measuring tools come second. A multimeter is the tool that turns guesses into evidence, so learn how to use a multimeter early. Clever Creations lists a multimeter among the tools for discharging a capacitor, and says you must measure the voltage across the terminals to be sure.
From there, each skill answers a specific question:
- Is a capacitor doing its job? Learn to test it only after it has been discharged, which is the focus of the guide on testing capacitors.
- Is a diode passing current correctly? The method for this semiconductor part is covered in the guide on testing diodes.
- Is something shorted? Liquid damage can cause a short-circuit, so a systematic search for shorts is worth learning.
- What is this circuit supposed to do? A schematic shows how the parts connect, so reading one turns a mystery board into a map.
Each of those skills has its own guide. Start with a diode lesson in how to test a diode with a multimeter, and when a board misbehaves after a spill, work through how to find a short circuit on a circuit board. Before you trace anything, it also helps to know how to read a schematic.
Static is the reason to be gentle with semiconductors. iFixit’s ESD article describes the free electrons on your skin as itching to attack tiny semiconductors, and its ESD guide notes that damage can show up as device instability rather than outright failure. Keep that in mind whenever a fault looks intermittent.
A routine to repeat on every job
Habits beat memory. This sequence pulls together the advice from the iFixit and Clever Creations pages cited above:
- Plan the repair and anticipate the hazards.
- Unplug the device and remove the battery.
- Set up your grounded mat and strap, and touch a metal fixture.
- Treat every capacitor as charged until you have measured it.
- Touch the internal metal frame regularly as you work.
- Store removed parts you want to keep in ESD-safe bags.
- Take off the wrist strap once the device is reassembled and working.
The point is consistency. A beginner who follows the same routine every time is safer than someone with expensive tools and no routine.
Frequently asked questions
Do I need an anti-static wrist strap for every repair?
Show answer
iFixit recommends an ESD-safe workspace with a grounded anti-static mat and wrist strap, and says a strap has no benefit unless it is grounded. At the very least, discharge yourself by touching a metal fixture before you start (iFixit ESD guide).
Is it safe to discharge a capacitor with a screwdriver?
Show answer
Clever Creations says shorting a capacitor with an insulated screwdriver is a common method, but it is problematic with high-voltage capacitors because the current is not restricted. A resistive load such as a power resistor or a light bulb is the recommended approach (Clever Creations).
Which devices should a beginner avoid?
Show answer
iFixit says to leave CRT televisions and monitors to an experienced technician. It also warns that flat-screen power supply boards hold large capacitors that can be dangerous when charged, and that hazardous repairs should not be done alone (iFixit device safety page).
Can I repair a device that got wet?
Show answer
iFixit says to turn the device off and clean out the liquid. It adds that liquid can damage a device only if it causes a short-circuit or corrodes the internals (iFixit techniques wiki).
What should I do with old solder and dead boards?
Show answer
iFixit says not to put lead solder, or sponges contaminated with it, in the trash. Seal them in a container and take them to a local household hazardous waste disposal facility, and recycle boards that are beyond repair (iFixit device safety page).